الوصف
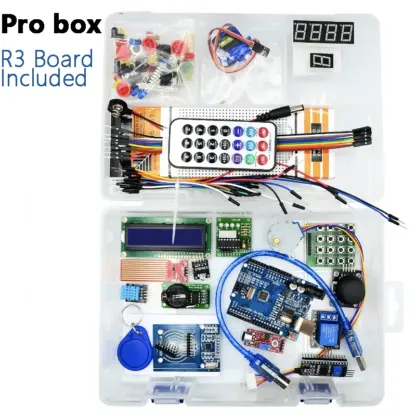
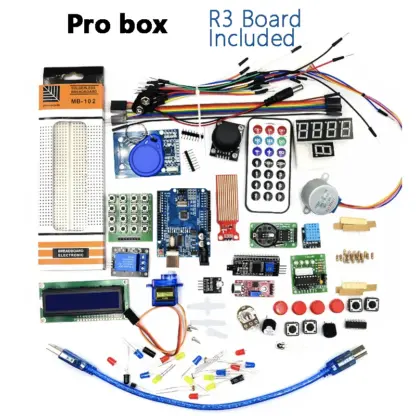
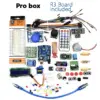
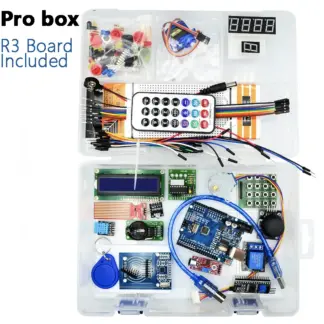
Pro Package Included
Online Tutorial
- The kit contains the components to complete most of the lessons of the excellent online Arduino Tutorial.
-
The Arduino IDE Software can be downloaded from the Arduino website https://www.arduino.cc/en/Main/Software
Arduino Quick Start Guide
Installing the Arduino IDE
- Go to arduino.cc/en/software and download the appropriate version for your system.
- Run the installation file (usually called arduino-1.xx.xx-windows.exe).
- Follow the on-screen instructions to complete the installation process.
Connecting the Arduino to a computer
- Connect the Arduino to your computer using the USB cable provided.
- Open the Arduino IDE and click on “Tools”. When prompted by windows firewall click allow.
- Move the cursor over “Board” and select your Arduino board from the list (e.g. “Arduino Uno”).
- Click on “Tools” again and move the cursor over “Port”. Now, select the USB port where the Arduino is plugged in. If you have multiple devices under “Ports” and you are unsure which one is the Arduino, try selecting one of the ports and then click on “Tools” and select “Get board info”. If the Arduino port is selected, a small window displaying the board information will appear, otherwise keep trying different ports until the window appears.
- To check if the Arduino is connected correctly, click on the “Upload” button at the top of the screen (button with arrow pointing to the right) and wait for the empty sketch to upload. If no errors come up, you’re all set up and ready to go!
Installing Arduino Libraries
Method 1
- Open the Arduino IDE and click on “Tools” at the top of the screen.
- Click on “Manage Libraries”.
- Type in the name of the library you wish to install (e.g. “CCS811”) and press enter.
- The Library Manager will now display a number of relevant libraries. Hover the cursor over the required library and click “Install”. When the installation has finished, close the Library Manager window.
Method 2
- Download the library you wish to install.
- Extract the folder from the zip file and paste it in the following location:
Windows XP and above: C:\Users\%username%\Documents\Arduino\Libraries
Mac: /Users/<username>/Documents/Arduino/libraries/
Linux: /usr/share/arduino/libraries/ (you must delete the dashes in the folder name, if there are any)
- Restart the Arduino IDE.

